

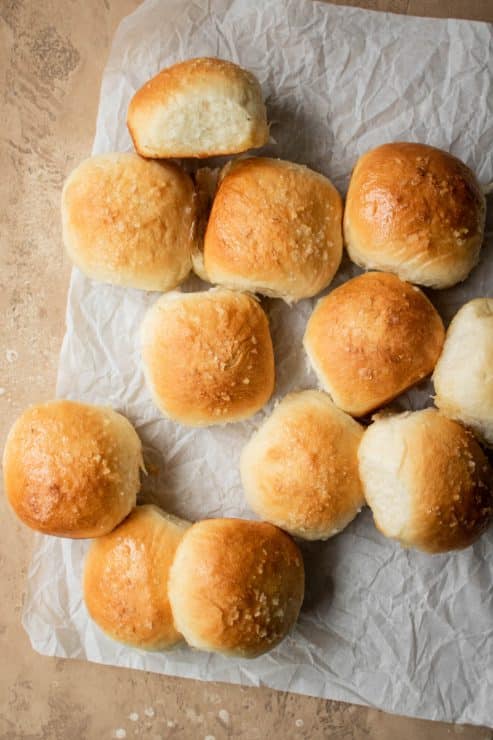

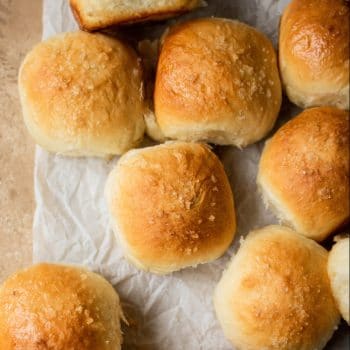
These are the softest, fluffiest Dinner Rolls EVER. This easy recipe makes 2 dozen big rolls, and you have the option to enjoy them as is or brush them with homemade honey butter or garlic Parmesan butter. The unbaked dough can be shaped and frozen for later, which is so handy on busy weeknights and around the holidays!
“Super yum!!! Easy to follow with good, clear instructions! Will def be making these rolls in the future!” – Meera, So Much Food reader
Table of contents
These Are My Favorite Big, Soft, & Fluffy Dinner Rolls
When I say these dinner rolls are super fluffy, I mean it! This recipe starts with my favorite foolproof dinner roll dough, which uses just 8 basic ingredients including whole milk and butter to create a super light and airy texture.
To save time, I fitted my stand mixer with the dough hook attachment and let it take over the kneading for me. Using a stand mixer cuts down the kneading time to just 10 minutes and gives me time to wash up some of the dirty dishes while it’s hard at work.
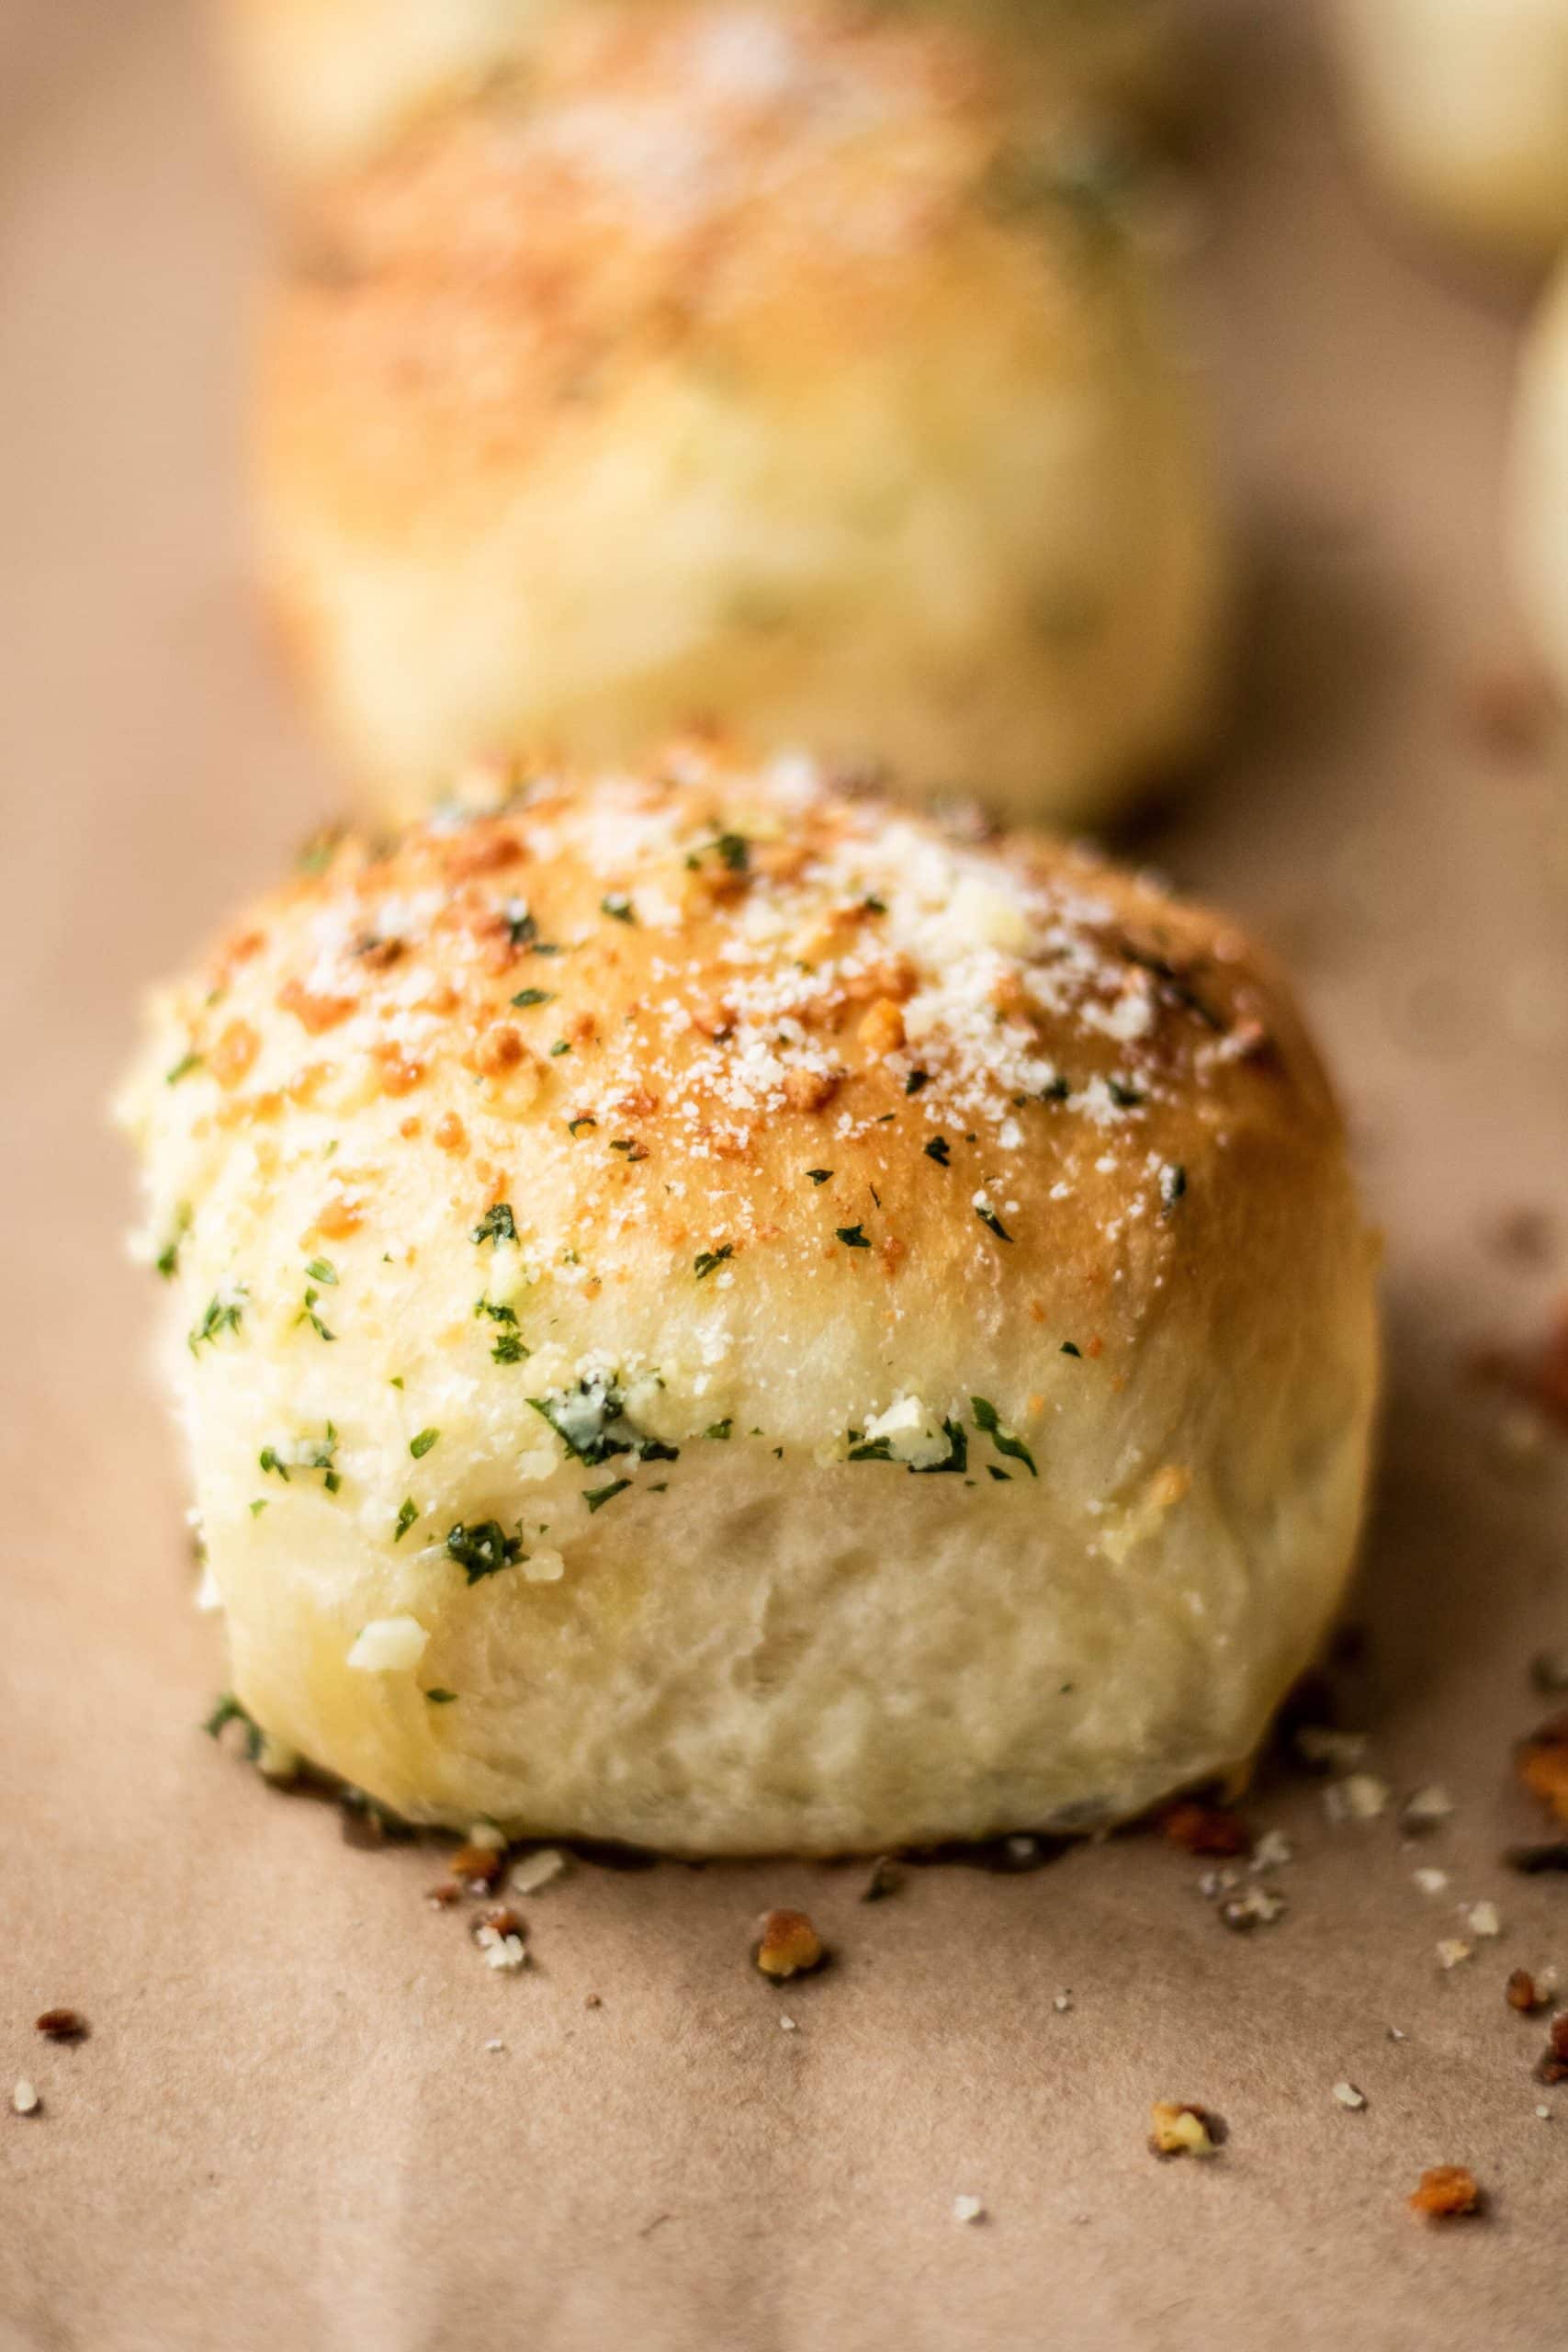
After the dough has been shaped and allowed to rise twice, it’s cook’s choice whether to brush the rolls with sweet honey butter or savory garlic Parmesan butter. I’ve shared both toppings in the recipe card below, so let me know whether you choose to go sweet or savory!
Tools Needed
The Main Ingredients
- Flour. I combined all-purpose flour and bread flour to create slightly chewy rolls that remain soft and fluffy after baking.
- Active Dry Yeast. This type of yeast needs to be combined with warm (not hot!) milk and a little sugar to proof it. You’ll know your yeast is good to use if it foams up nicely in the milk mixture.
- Milk. Whole milk will make for more flavorful and moist dinner rolls.
- Sugar. These dinner rolls aren’t sweet, per se, but a little sugar helps proof the yeast and gives the rolls flavor.
- Eggs. Create a more soft and tender texture.
- Butter. I suggest using unsalted butter to prevent the rolls from tasting too salty.
- Salt. I used kosher salt; if you use table salt, add just 1 teaspoon.
How to Make Light and Fluffy Dinner Rolls Every Time
- Proof the yeast in a mixture of warm milk, butter, and sugar. The optimal temperature for milk is around 100ºF. Any hotter and you run the risk of killing the yeast. If your yeast doesn’t get foamy, your milk may be too hot. It should be just warm to the touch.
- Combine and knead the dough. I fit my stand mixer with a dough hook attachment and let it bring the dough together, then run it for 10 minutes to knead.
- Rise until doubled in size. If covered with plastic wrap and placed in a warm corner of your kitchen, this could take anywhere between 1 to 2 hours.
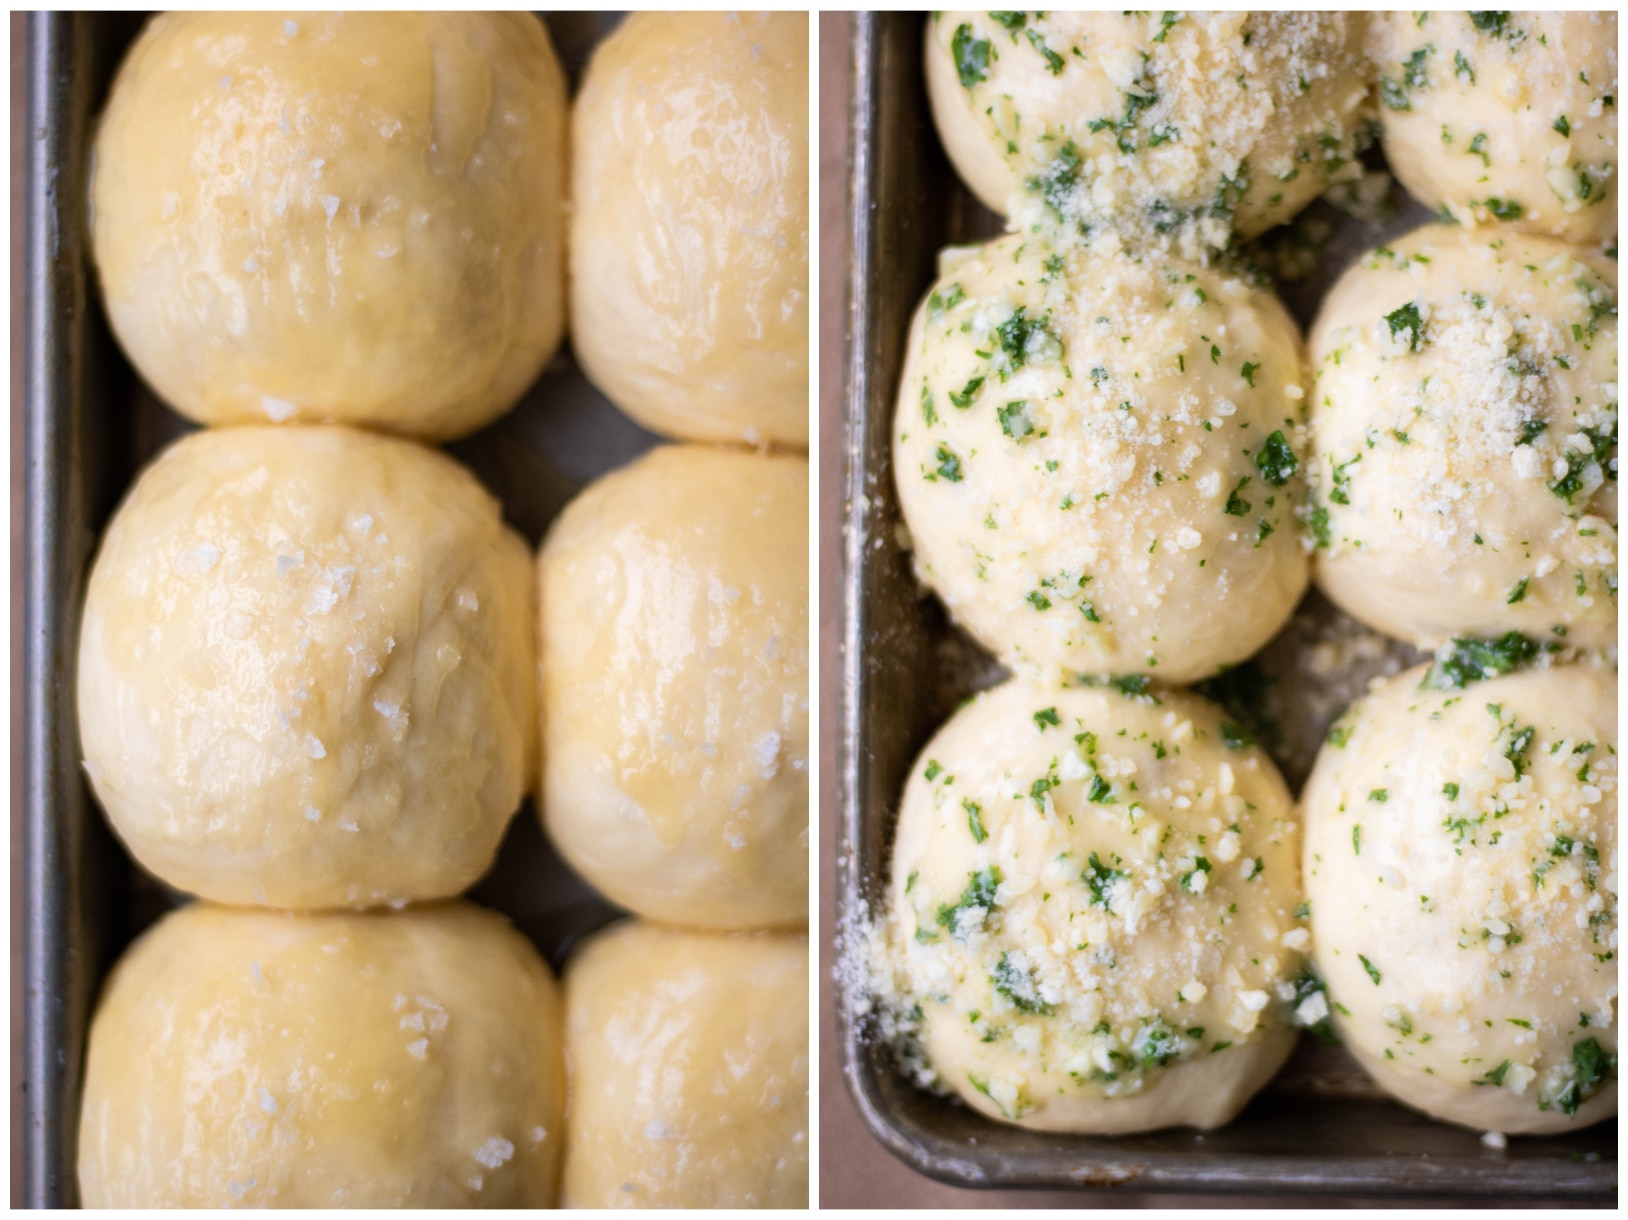
- Shape into 24 balls, then let rise again. This time, the rolls will rise in a greased baking dish. You want them to rise just to the point where they’re touching.
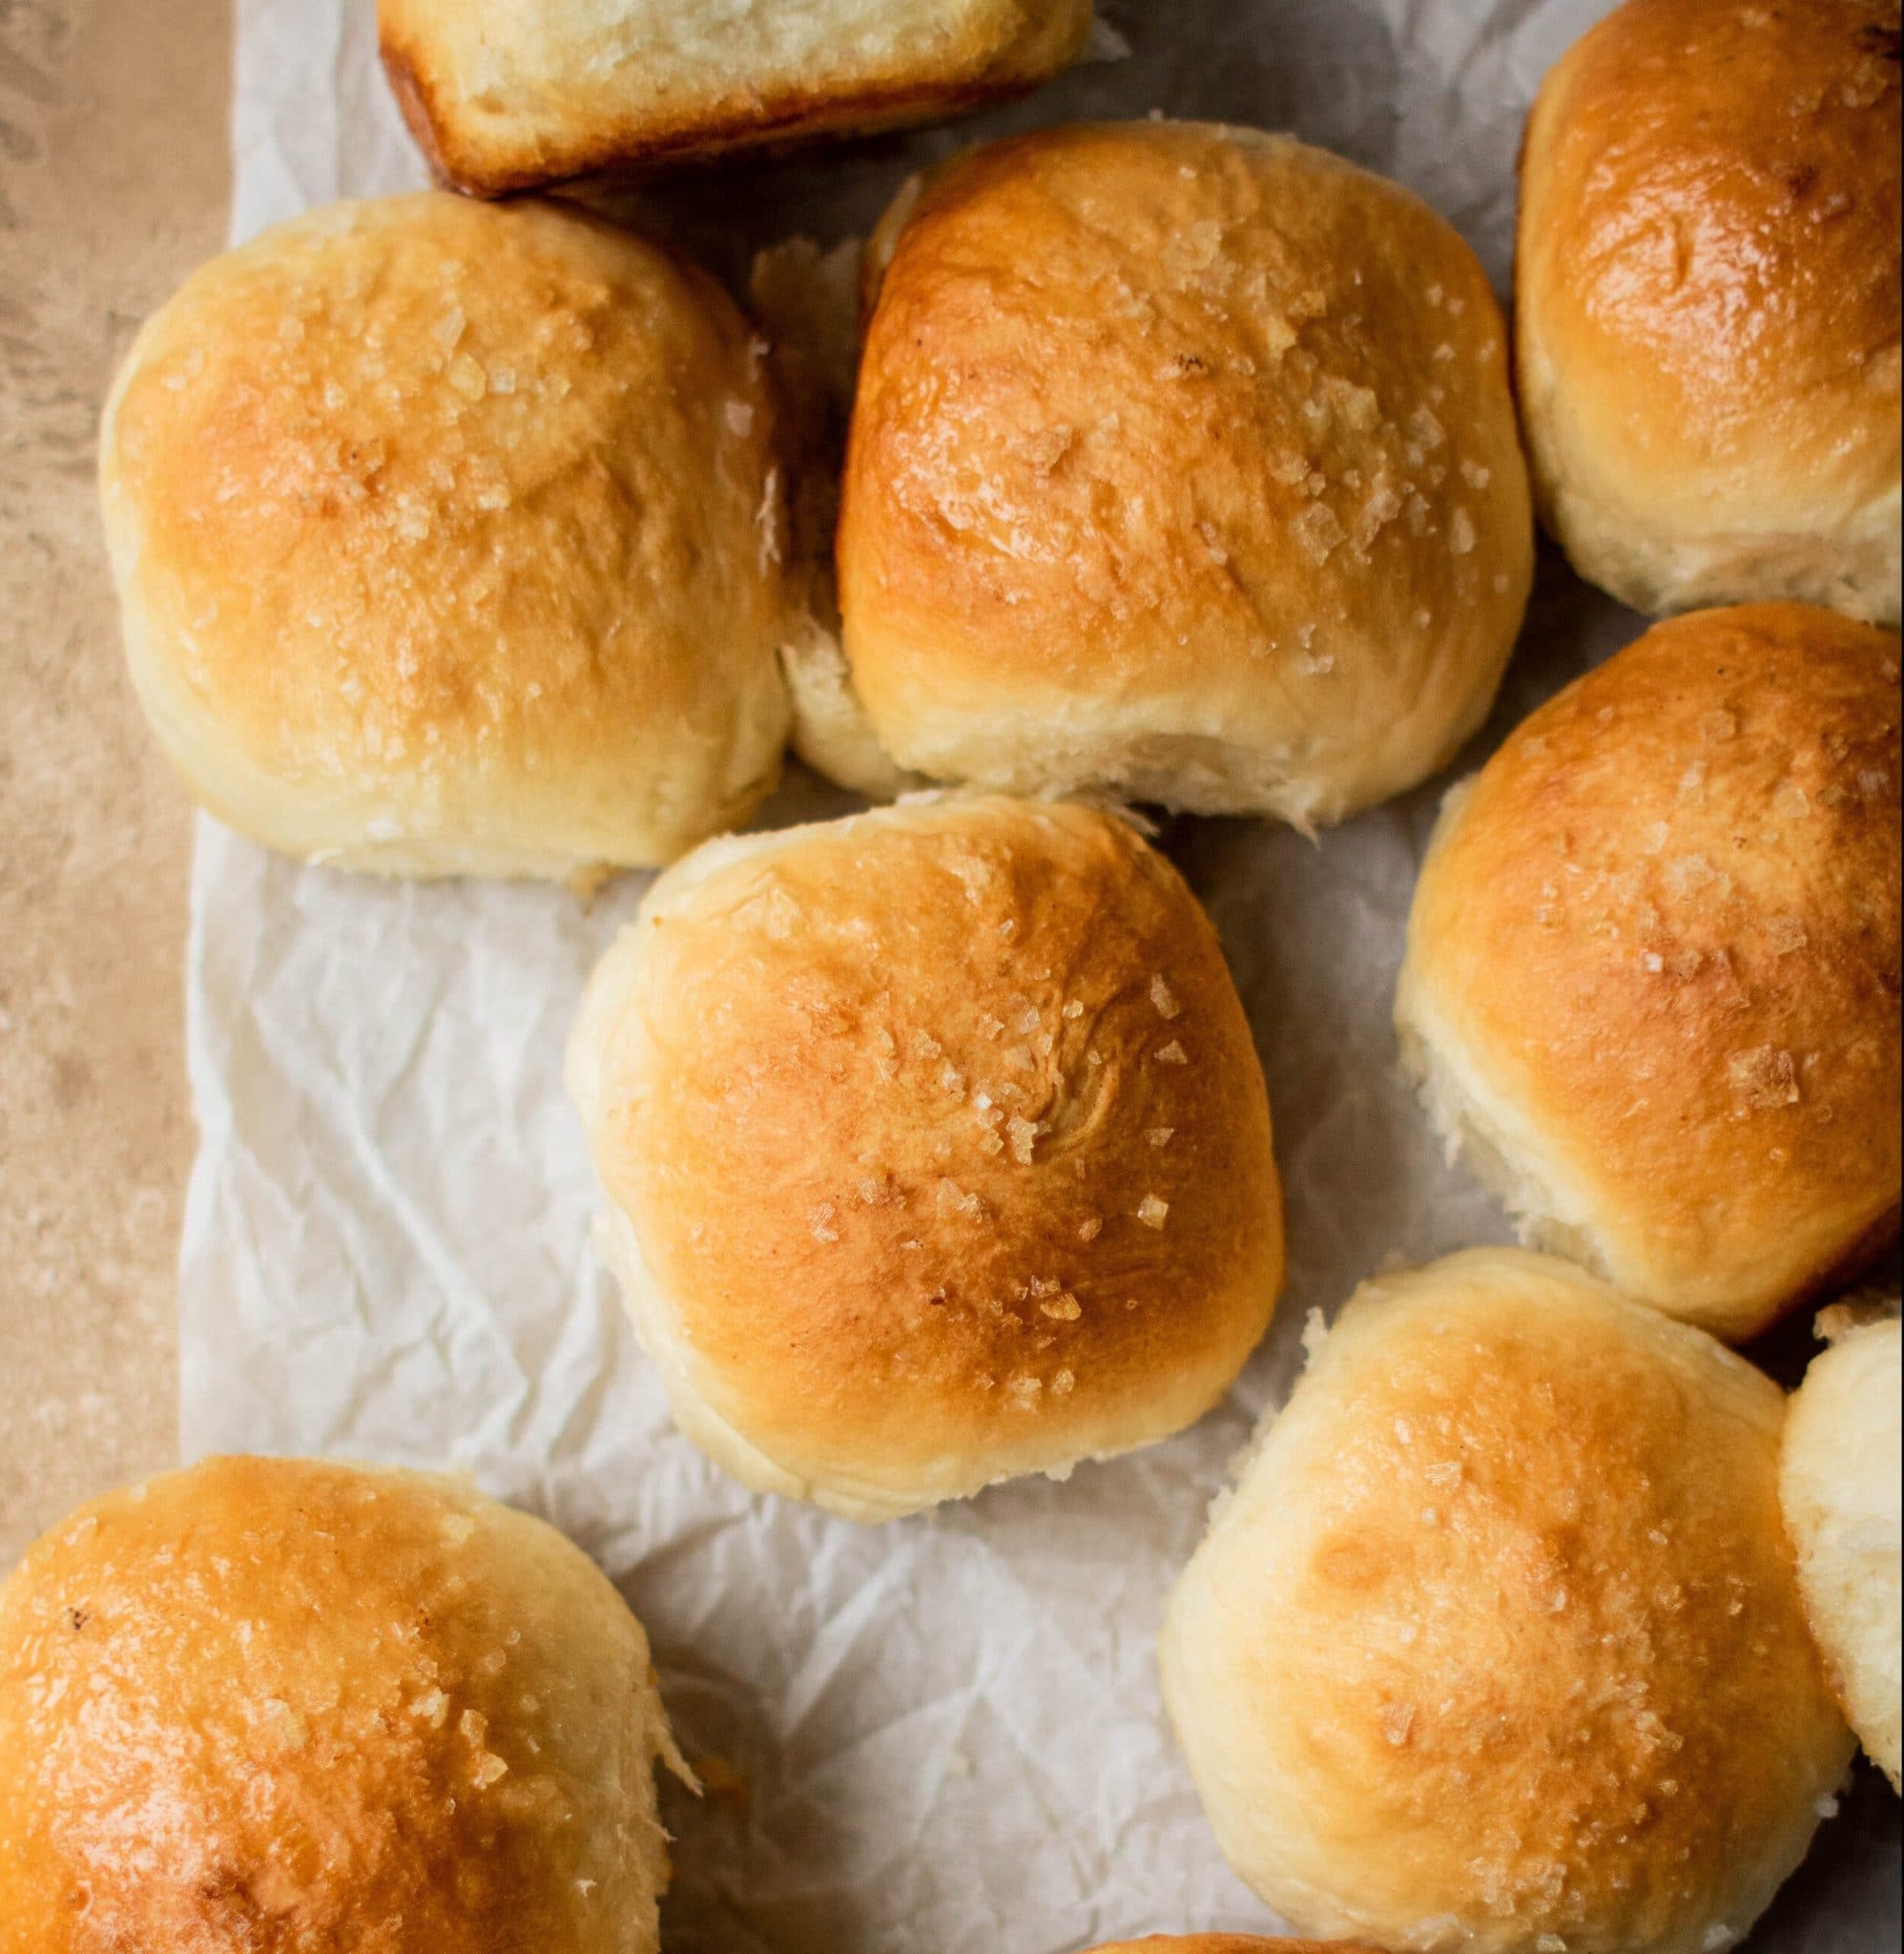
- Brush with flavored butter, then bake. These rolls bake quickly (about 15 minutes). Pull them out of the oven once they’re golden brown.
Jenny’s Tips for Making Homemade Dinner Rolls
Make sure your yeast isn’t old. The best place to store yeast is in the fridge to keep it as fresh as possible. I try and buy a new jar of yeast every 6 months or so. If your yeast has been hanging around a while and it’s not getting foamy, it may be time to buy some fresh.
Use a combination of all-purpose and bread flour. Using a combination of all-purpose flour and bread flour really yields the perfect fluffy dinner rolls. They’re light, yet chewy and that extra chew comes from the bread flour.
Mix your dough long enough. The trick to getting the perfect texture is to make sure you mix your dough long enough. It should be very smooth and elastic after it comes out of the mixer.
Don’t rush the rising time. For flavor and texture, these fluffy dinner rolls need an initial rise and then a second proof after they’re shaped. This ensures that your rolls are light and fluffy and not dense bricks.
Don’t over-bake. These rolls bake up super quickly and only need about 15 minutes in the oven. If you bake too long, they will dry out.
Dinner Roll Troubleshooting (+ Solutions)
- My rolls aren’t fluffy. You either added too much flour or you possibly used all bread flour. Alternately, not giving your dinner rolls enough time to proof and get puffy before baking could yield dense rolls.
- My dough is rising slowly or not at all. Check your yeast. The easiest way to tell if your yeast is old is if it doesn’t get foamy in the first stage of the recipe. Also, if your kitchen is cold, the dough will rise slowly. To speed it along, place the bowl with the dough into the oven and turn the oven light on. The minimal heat from the bulb will warm the oven up a touch. Just don’t forget to take it out before you preheat the oven!
- I over-kneaded my dough. If your dough is tight and tough and the gluten strands break apart when you try to stretch the dough, it may have been overworked. Unfortunately, there is no fix for this and it’s best to just start over.
- My dough is really sticky. If you find that your dough is really, really sticky after mixing, mix in a bit more flour ( 1 to 2 tablespoons at a time). The dough should feel tacky, but smooth and shouldn’t really stick to your hands.
Make-Ahead Option
This fluffy dinner roll recipe is a cinch to make, and you can even assemble the rolls ahead of time, freeze them, and then bake off later. This comes in so handy around the holidays!
After you portion the dough into balls, place them on a parchment-lined tray and freeze. Defrost rolls in the fridge and then allow the dough to go through the second rise before topping with butter and baking.
If you give this recipe a try, be sure to let me know. Leave a comment with a star rating below. Be sure to subscribe to my weekly newsletter and never miss a new recipe! You can also snap a photo & tag @JENNYGOYCOCHEA onInstagram. I LOVE hearing about & seeing your SMF creations!
Other Easy Homemade Bread Recipes to Try
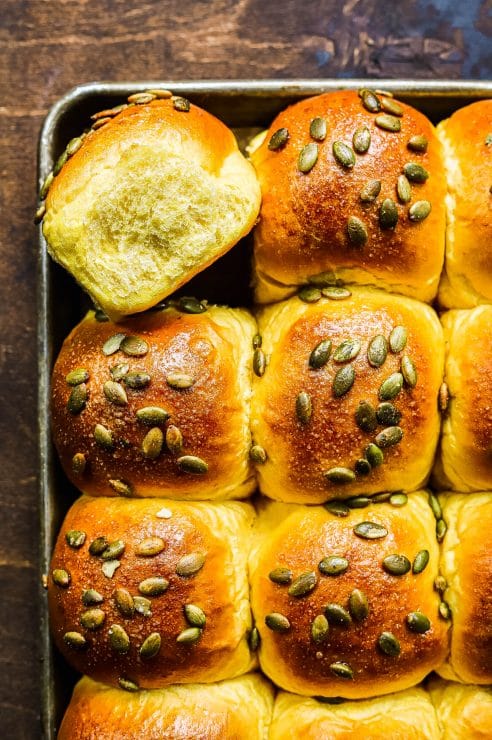
- Honey Pumpkin Dinner Rolls
- Brioche Dinner Rolls
- Pumpkin Cornbread Muffins
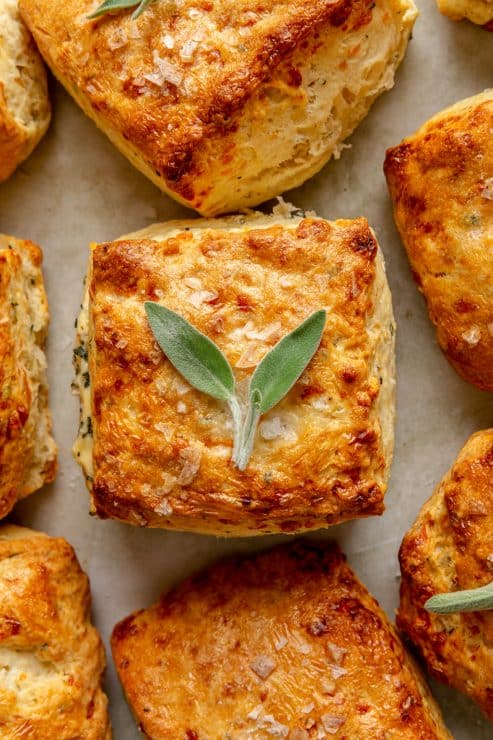
- Sage and Gruyere Biscuits
- Cheddar Jalapeño Cornbread
- Overnight Sourdough Bread
This post contains affiliate links from which I receive a small commission at no additional cost to you. Affiliate links allow me to keep providing great recipes for free and I never recommend products that I don’t love and personally own.
Fluffy Dinner Rolls Recipe
Ingredients
Dinner Roll Dough
- 1 1/2 cups whole milk
- 1/2 cup unsalted butter (4 oz)
- 3 tablespoons granulated sugar
- 1 1/2 tablespoons active dry yeast
- 2 eggs
- 2 cups all-purpose flour
- 3 cups bread flour
- 1 1/2 teaspoons kosher salt
Honey Butter Topping
- 3 tablespoons unsalted butter
- 2 tablespoons honey
- flaky sea salt for sprinkling
Garlic Parmesan Topping
- 4 tablespoons unsalted butter
- 5 cloves garlic minced
- 1/2 teaspoon kosher salt
- 1 tablespoon minced fresh parsley
- 1/4 cup freshly grated parmesan
Instructions
- Proof the yeast. In a small saucepan, warm the milk and butter to 100ºF. In the bowl of a stand mixer fitted with the dough hook, combine the sugar and yeast. Pour the milk/butter mixture over the yeast and sugar and let it rest for 5 minutes until the yeast is foamy. If your yeast does not get foamy, it may be too old to use.
- Make the dough. Add the eggs and flour to the yeast mixture and mix on low. As the dough comes together, sprinkle in the salt. Mix on low for 10 minutes until the dough is smooth.
- Let rise until doubled in size. Transfer to a greased bowl, cover with plastic wrap, and let the dough rise in a warm location until doubled in size (1 to 2 hours).
- Shape the dough. Grease a large rimmed baking sheet (13X18), or two smaller baking sheets (8×12) if making both flavors. Punch the dough down and portion the dough into 24 pieces. The easiest way to do this is to weigh the dough, take the total weight and divide it by 24. This ensures even-sized pieces that bake at the same rate. Roll each piece into a ball and place it on the greased baking sheet one inch apart.
- Let rise again. Loosely cover with plastic wrap and allow to rise until doubled in size and the rolls are touching (about an hour).
- Make the honey butter (optional). Melt butter and combine with honey until well mixed. Cool slightly until the mixture has thickened.
- Make the garlic butter (optional). Melt the butter in a small saucepan over low heat and add the garlic. Cook for 2 minutes and remove from heat. Add the salt and parsley and stir to combine.
- Brush with flavored butter, if using. Preheat an oven to 375ºF. Remove the plastic wrap from the dough and gently, but liberally, brush with either butter. If using honey butter, sprinkle the rolls with flaky sea salt after brushing with butter. If using garlic parmesan, sprinkle with parmesan after brushing with garlic butter.
- Bake. Bake for 15 minutes until the rolls are golden brown on top. Remove from oven and let the rolls cool before serving. Sprinkle garlic parmesan rolls with extra parmesan if desired after they cool slightly.
Notes
Nutrition
You might also like...
-
 Baking & Breads
 Honey Pumpkin Dinner Rolls
-
 Thanksgiving
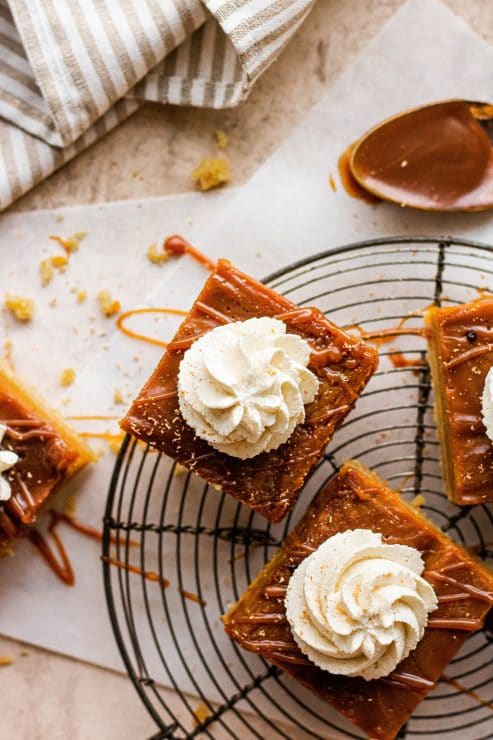
 Salted Caramel Pumpkin Pie Bars
-
 Sides
Sides Sage & Gruyere Biscuits
Rate & Review This Recipe
Super yum!!!
Easy to follow with good, clear instructions! Will def be making these rolls in the future !
AMAZING!!!! I came across your blog and I decided to try these. They are so perfect and my parents loved them!!!! I’m going to be making these a lot now….Thank you so much!!! I’m gonna go try out some of your other recipes. (I did sub some of the ap flour with bread flour to give a chewier texture)
[…] best cinnamon crunch bagels fluffy dinner rolls two ways the very best cinnamon […]
Delicious and easy to follow! The perfect addition to a meal!
So fluffy and SO good! Easy to follow and amazing rolls!!!
So happy to hear!
Have you tried making these as brown-and-serve? I’ve made other rolls and baked at a low temp (275°) for about 15-20 mins, then bake hot and briefly for serving. Will that work with these, and if so, I presume I’d put the butter on before the 2nd bake? Thanks.
Hi Pat,
I have personally never tried that method so I can’t speak to its efficacy. I don’t see why it wouldn’t work, but I can’t guarantee it. If you give it a try, I would love to hear about your experience! I would add the butter before the second bake.
I’m making these now, and as one poster said my dough is very sticky. I measured the ingredients carefully, but there is no way I could knead this now; but you never mention kneading it. I’m afraid to add too much flour and making the rolls dry.
I’ll let you know about the brown and serve aspect. Two changes I made to your method is that I ALWAYS proof my yeast separately, so I decreased the milk by 1/4 cup and proofed the yeast in 1/4 c water. I melted the butter in a pan, and added the 1 1/4 c milk to the melted butter; if the milk drops the temp too much, it’s easy to warm it slightly. (To get the butter to melt, seemed like I’d have to get the milk too hot.)
Pat
Pat,
As the recipe mentions, all the kneading is done in the stand mixer. That’s why it mixes for 10 minutes. The dough starts out sticky and as the machine does the kneading, it becomes smooth. If you need to, add a bit more flour if you’re kneading by hand. If you are kneading by hand, it’s quite a workout and the dough should be kneaded for 10 minutes. I recommend a stand mixer with the dough hook attachment.
I don’t see any other comments about the dough being sticky, so not sure what’s going on for you but I would add flour in 2-3 tablespoon increments until workable.
Thanks for the quick replies. Your comment about weighing the dough made me laugh. That’s exactly what I always do, but I thought I was the only one so OCD to do that! 😉
The brown-and-serve took a bit of experimenting. I normally bake “sturdier” rolls at 275 for 15 min or so, “until firm”and not browned, but because your dough is SO light (and the rolls a bit larger) when I took them out to cool, the tops shriveled; the interiors weren’t done enough to support the crust, I guess. So, the solution seems to be to bake at 275° for 20-25 minutes, until the internal temp is 185-190°; they’re still not browned but the crust stayed smooth. For dinner tonight, I baked a couple at 375° for 7-8 minutes to brown.
Your recipe is delicious, and I’m not sure the brown-and-serve is worth the trouble, but I want to take them to a friend’s house and not make a mess in her kitchen! Sometime I’ll try the freezer method. Thanks for the help and the recipe!
Pat,
No problem, always happy to help troubleshoot. Because these rolls are so light and fluffy, I don’t think they’re a good candidate for the brown and serve method. If you plan to take rolls to a friend’s house, my recommendation would be to shape the rolls, place them on a greased baking sheet, brush very liberally with the butter, cover with plastic wrap and refrigerate until you plan to travel. Then, when you arrive all you have to do is pop them in the oven.
Thanks for all your experimentation and feedback!